How to Repair a Chip in a Granite Countertop Edge?

Time:2026-10-19 Author:Isabella
0%

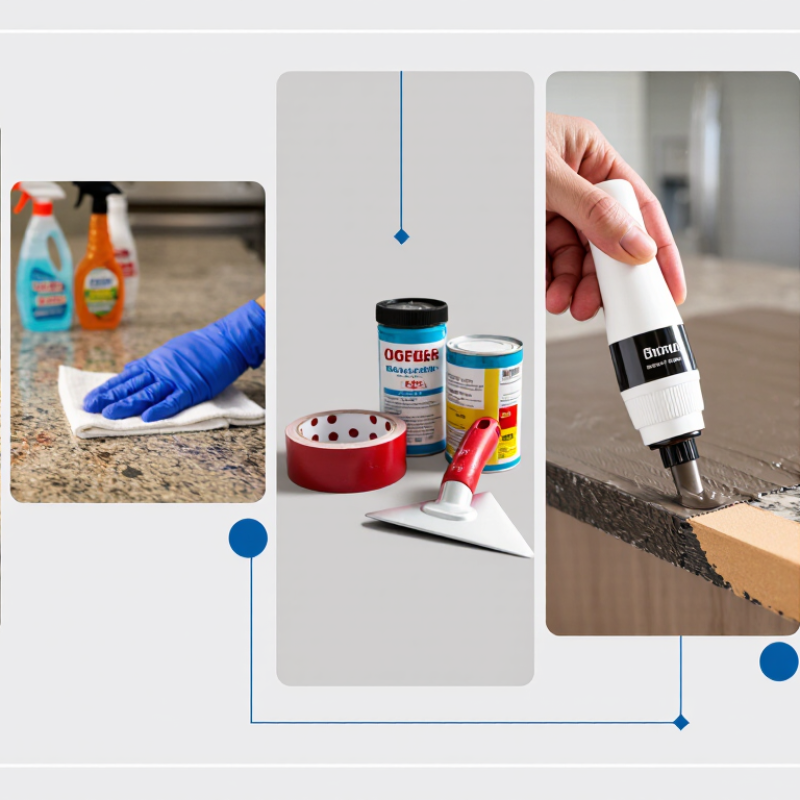
A chipped granite countertop edge can make an otherwise polished kitchen look neglected. The damage may appear small, but loose fragments and sharp corners can worsen with daily use. Learning How to repair a chip in a granite countertop edge requires patience, suitable materials, and careful observation. This guide explains a practical repair process for minor chips, not major cracks or unstable stone.

Experienced installers usually begin by examining the chip under bright, angled light. This reveals hidden dust, hairline fractures, and changes in the stone’s surface. The area must be clean, dry, and free from cooking grease. A color-matched granite repair epoxy, fine sandpaper, masking tape, and a small applicator are commonly useful. Always test the epoxy color on cardboard first. It may look different after curing.

The repair should restore the edge without creating a visible lump or dull patch. Applying too much filler is a common mistake. Rushing the curing time is another. I have found that careful preparation often matters more than expensive tools. Still, no home repair will perfectly reproduce every natural mineral pattern. Some chips may require a professional stone fabricator, especially near a sink cutout or a weakened seam. This article will help you judge the damage, prepare the surface, fill the chip, smooth the repair, and protect the finished edge. It also encourages a realistic decision: repair what is manageable, and seek expert advice when the stone’s stability is uncertain.
How to Repair a Chip in a Granite Countertop Edge?

Identify Granite Hardness (Mohs 6–7) and Measure the Edge Chip

Before repairing a granite countertop edge, identify the stone’s hardness and measure the chip carefully. Granite usually falls between Mohs 6 and 7, but its minerals vary. Feldspar may be softer than quartz, so one slab can behave differently from another.

Do not scratch the visible surface to test hardness. That can create a second defect. Instead, check the slab’s installation records or consult a qualified stone technician. A close inspection under strong light can reveal quartz grains, mica flakes, and existing hairline cracks. I once mistook a dark mineral spot for a deep chip. Cleaning the area changed my assessment.

Measure the damaged edge after removing loose dust. Record the chip’s length, height, and deepest point in millimeters. A small ruler works, but digital calipers provide better control on a narrow edge. Measure from the original edge line, not from a rounded or broken corner. Photograph the area beside the measuring tool for reference. Depth is easy to underestimate, especially when the chip contains shadowed fractures. If the damage extends beneath the countertop or feels loose, stop and seek professional evaluation. Mohs hardness helps explain sanding resistance, but it does not confirm structural safety or determine the correct repair material.

Clean and Dry the Repair Area with 70% Isopropyl Alcohol

How to Repair a Chip in a Granite Countertop Edge?

Clean and Dry the Repair Area with 70% Isopropyl Alcohol

A clean repair begins before any filler touches the granite. Remove dust with a soft brush or vacuum, then inspect the chip under bright light. Grease can hide inside the damaged edge. This step looks simple, but rushing it often causes weak adhesion.

Apply 70% isopropyl alcohol to a lint-free cloth, not directly into the countertop seam. Wipe the chip and surrounding edge gently. Repeat with a fresh section of cloth. The Centers for Disease Control and Prevention identifies alcohol concentrations of at least 70% as effective for disinfecting many hard surfaces. For countertop repairs, the main benefit is removing oil and residue, not sterilizing the stone.

Let the area air-dry completely. Five to ten minutes is usually reasonable, but thicker seams may need longer. Do not use a flame, heat gun, or strong airflow near the solvent. The NIOSH Pocket Guide lists a 400 ppm time-weighted exposure limit for isopropyl alcohol, so ventilation matters. Keep windows open and avoid breathing directly over the work area.

Touch the cleaned granite with a gloved finger only after it dries. If the surface feels slick, repeat the cleaning process. I sometimes underestimate hidden cooking oil near an edge. That mistake is easy to make, and it can undermine an otherwise careful repair.

Granite Edge Chip Repair: 70% Isopropyl Alcohol Cleaning Solution

Before applying a granite repair material, remove dust and loose particles, wipe the chip and surrounding edge with 70% isopropyl alcohol, and allow the surface to dry completely. The chart shows the solution composition by volume: 70% isopropyl alcohol and 30% water. Do not apply the repair material until the area is clean and dry.

Tint Two-Part Epoxy to Match the Granite’s Color and Pattern

A granite edge chip can disappear when the repair color follows both the stone’s base tone and its movement. Houzz’s 2024 U.S. Houzz & Home Study reported a median major kitchen remodel cost of about $60,000. Small repairs deserve care, especially beside that investment.

Clean the chip with a soft brush and isopropyl alcohol. Let it dry fully. Mix the two-part epoxy in the manufacturer’s stated ratio. Never guess the proportions. Add tiny amounts of stone pigment, matching the lightest background first. Then blend separate wisps for veins or speckles. A toothpick gives better control than a wide mixing stick. Less pigment is safer.

Make a test dab on a hidden granite edge or a similar scrap. Cure it completely before judging the shade. Epoxy often looks different when wet. It may also become slightly darker after curing. I once matched the beige correctly but added veins too heavily; the patch looked painted. That mistake remains useful.

Press the tinted epoxy into the void, slightly overfilling it. Shape the edge with a razor after partial curing, then sand progressively with fine abrasive pads. Keep the repair localized. Natural Stone Institute guidance emphasizes careful stone selection, finishing, and mockups for predictable appearance. A small sample is not wasted material. It is evidence. Houzz’s remodeling data also shows why preserving an existing surface can be practical when a full replacement is expensive.

Test twice. Cure once.

Fill the Chip Slightly Proud and Cure the Epoxy for 24 Hours

A small chip on a granite countertop edge needs careful preparation. I have found that rushed cleaning causes more problems than the epoxy itself. Remove loose stone with a soft brush, then wipe the area with isopropyl alcohol. Let the granite dry completely. Moisture can weaken the bond. Place masking tape below the damaged edge to support the repair and protect the cabinet.

Use a two-part, stone-compatible epoxy and mix only a small amount. Add a tiny quantity of mineral pigment if the color needs adjustment. Perfect matching is difficult, even for experienced installers. Fill the chip slightly proud of the granite surface, leaving a small raised mound. This extra material allows room for careful leveling after curing. Do not press the epoxy completely flush.

Allow the epoxy to cure for 24 hours. Keep the counter dry and avoid touching the repair during this period. Cooler temperatures may require additional curing time. I once removed tape too early and pulled away a soft edge, so patience matters. After curing, carefully shave the excess with a sharp razor held nearly flat. Use fine abrasive paper to smooth the area, working slowly along the original edge.

Deep chips, loose slabs, or cracks near a sink should be assessed by a qualified stone professional.

Level, Wet-Sand, and Polish the Repair from 400 to 800 Grit

How to Repair a Chip in a Granite Countertop Edge?

After cleaning the chipped edge, fill it with a suitable stone repair resin. Let it cure completely before sanding. A partially cured repair can tear, smear, or sink under pressure. I learned this the hard way. The surface looked firm, but the center remained soft.

Level the repair with 400-grit wet sandpaper and a firm sanding block. Keep the area wet, and use light, even strokes. Water carries away abrasive dust and helps prevent deep scratches. Check the edge often with your fingertips. It should feel flat, not hollow or raised. Move to 600 grit when the 400-grit marks disappear. Finish with 800 grit for a smoother, more reflective surface. Do not rush this stage. Uneven pressure can create a dull patch beside the repair.

Tips: Mask the surrounding granite before sanding. Use clean water for each grit. Wipe the edge dry between steps. Compare the repaired area under strong side lighting. Stop if the color or sheen looks wrong. Granite patterns are rarely predictable, even with careful mixing. If the chip reaches a seam, sink cutout, or unstable edge, seek an experienced stone professional. Small repairs reward patience, but they still require judgment.

FAQS

How should I clean a chipped granite edge before repair?

Use a soft brush to remove loose particles. Wipe the chip with isopropyl alcohol. Let the area dry completely.

How do I match the repair color to the granite?

Begin with the lightest background tone. Add tiny pigment amounts to the epoxy. Create veins or speckles separately.

What mixing ratio should I use for two-part epoxy?

Follow the stated manufacturer ratio exactly. Never estimate the proportions. Incorrect mixing may leave the repair soft or weak.

Should I test the tinted epoxy before filling the chip?

Yes. Apply a small dab to hidden granite or similar scrap. Let it cure fully before judging the color.

Why does my repair look different after curing?

Wet epoxy can appear lighter or darker. Curing may change its final shade. Test twice.

How much epoxy should fill the chipped edge?

Press epoxy into the void and slightly overfill it. Shape the excess after partial curing. Keep the repair localized.

How should I sand a cured granite repair?

Confirm the repair is fully cured first. Begin with 400-grit wet sandpaper and a firm block. Use light, even strokes.

Which sanding grits should follow 400 grit?

Move to 600 grit after removing the deeper marks. Finish with 800 grit for a smoother sheen. Use clean water for each grit.

How can I avoid a dull patch beside the repair?

Mask nearby granite before sanding. Check the surface by touch and under strong side lighting. Uneven pressure can reduce the shine.

When should I seek professional help?

Get experienced assistance if the chip reaches a seam, sink cutout, or unstable edge. Small repairs need patience. My own vein match once looked painted.

Conclusion

How to repair a chip in a granite countertop edge begins with assessing the stone’s hardness, which is typically around 6–7 on the Mohs scale, and measuring the damaged area. Clean the chip thoroughly with 70% isopropyl alcohol, then allow it to dry completely so the repair material can bond properly. Prepare a two-part epoxy and tint it carefully to blend with the granite’s base color and natural pattern.

Apply enough epoxy to fill the chip while leaving it slightly higher than the surrounding edge. Let it cure undisturbed for approximately 24 hours, following the epoxy’s recommended curing conditions. Once fully hardened, carefully level the excess material, then wet-sand the repair progressively from 400 to 800 grit. Finish by polishing the area until it matches the surrounding granite as closely as possible. Work patiently to avoid scratching the countertop or removing too much material from the repaired edge.

Isabella

Isabella

Isabella is a dedicated marketing professional with a sharp focus on driving brand growth and engagement through strategic content creation. With an extensive background in digital marketing, she combines her passion for storytelling with her keen understanding of industry trends to deliver......